

Developers are the unique creatures, their thought process is different, and they don't understand the world sometime; but they understand machines quite well. They don't follow the rules made by humans instead they listen to machine. So, to keep your developers aligned and under a check, sigma developers has created linters. In this article, we will talk about how to configure ESLint with Angular.
Having a linter configured with your project is a blessing. One must have a linter for their project to easily manage and control high coding standards. These linters will take care of tons of usual coding issues those are a common miss by developers.
ESLint is one of the most popular linters for JavaScript. Angular world is of no different, at a ground level Angular is JavaScript framework only. Configuring ESLint with Angular will put a check on your development process and keep your code tidy. You can check the Angular ESLint to know more about the concept and interlinking between ESLint and Angular.
Will head in this direction:
Without further ado let's directly jump into setting up Angular ESLint.
Run below command to install ESLint in your Angular project:
ng add @angular-eslint/schematicsThis will install ESLint packages and will create a file named ".eslintrc.json" and add some configuration to "angular.json" file.
The ".eslintrc.json" file looks like this:
{
  "root": true,
  "ignorePatterns": [
    "projects/**/*"
  ],
  "overrides": [
    {
      "files": [
        "*.ts"
      ],
      "extends": [
        "eslint:recommended",
        "plugin:@typescript-eslint/recommended",
        "plugin:@angular-eslint/recommended",
        "plugin:@angular-eslint/template/process-inline-templates"
      ],
      "rules": {
        "@angular-eslint/directive-selector": [
          "error",
          {
            "type": "attribute",
            "prefix": "app",
            "style": "camelCase"
          }
        ],
        "@angular-eslint/component-selector": [
          "error",
          {
            "type": "element",
            "prefix": "app",
            "style": "kebab-case"
          }
        ]
      }
    },
    {
      "files": [
        "*.html"
      ],
      "extends": [
        "plugin:@angular-eslint/template/recommended",
        "plugin:@angular-eslint/template/accessibility"
      ],
      "rules": {}
    }
  ]
}
Here, the "overrides" properties take objects and each objects can be controlled based on file type. Typically, for any Angular app the files types are .html and .ts. When we add Angular ESLint it adds the Angular and TypeScript rules for us by default. On top of these rules if you want to add any other rules you can add it to the "extends" property.
Check out the GitHub repository of Angular ESLint for more details.
Angular by default provides a lint command when you create a project in "package.json" file named as "lint". Simply run this command to check if there are any lint errors are present:
npm run lintWhen we run the command for the first time, it is most likely that will get some lint issues. Fix the found issues one by one. You can check the ESLint - Rule References.
Once you run the lint command without any issues it will show below message:
C:\Zaki\Study\Angular\ng-eslint>npm run lint

> ng-eslint@0.0.0 lint
> ng lint


Linting "ng-eslint"...

All files pass linting.You can further customize the lint command as per your need. The ESLint can generate reports in different formats.
{
  "scripts": {
    "lint": "ng lint",
    "lint:txt": "ng lint > lint-report.txt --silent",
    "lint:html": "ng lint > lint-report.html --format html --silent",
    "lint:json": "ng lint > lint-report.json --format json --silent"
  }
}
Here, we are creating lint report in different format like txt, html, and json, for this make sure you have created the ESLint folder. You can check the ESLint - Custom Formatters.
If you want to ignore entire file or folder to skip the ESLint checks then create an ESLint ignore file ".eslintignore":
package.json
package-lock.json
dist
/.angular/cache
lint-*
Here, we are ignoring the entire dist folder with any files it contains and the "package.json" file in particular; also, we are ignoring any file starting with "lint-" pattern. If you want to know more about ignoring files from ESLint, you can check the ESLint - Ignore Files.
To disable any rule put this above the line where you are getting lint error/warning.
// eslint-disable-next-line
alert('foo');
Here, we are disabling the ESLint rule for using alert in the code base through the disable next-line comment. There are many ways to disable an ESLint rule, it can be disabled for individual line, a file or for entire project. You can check the ESLint - Disable Rules.
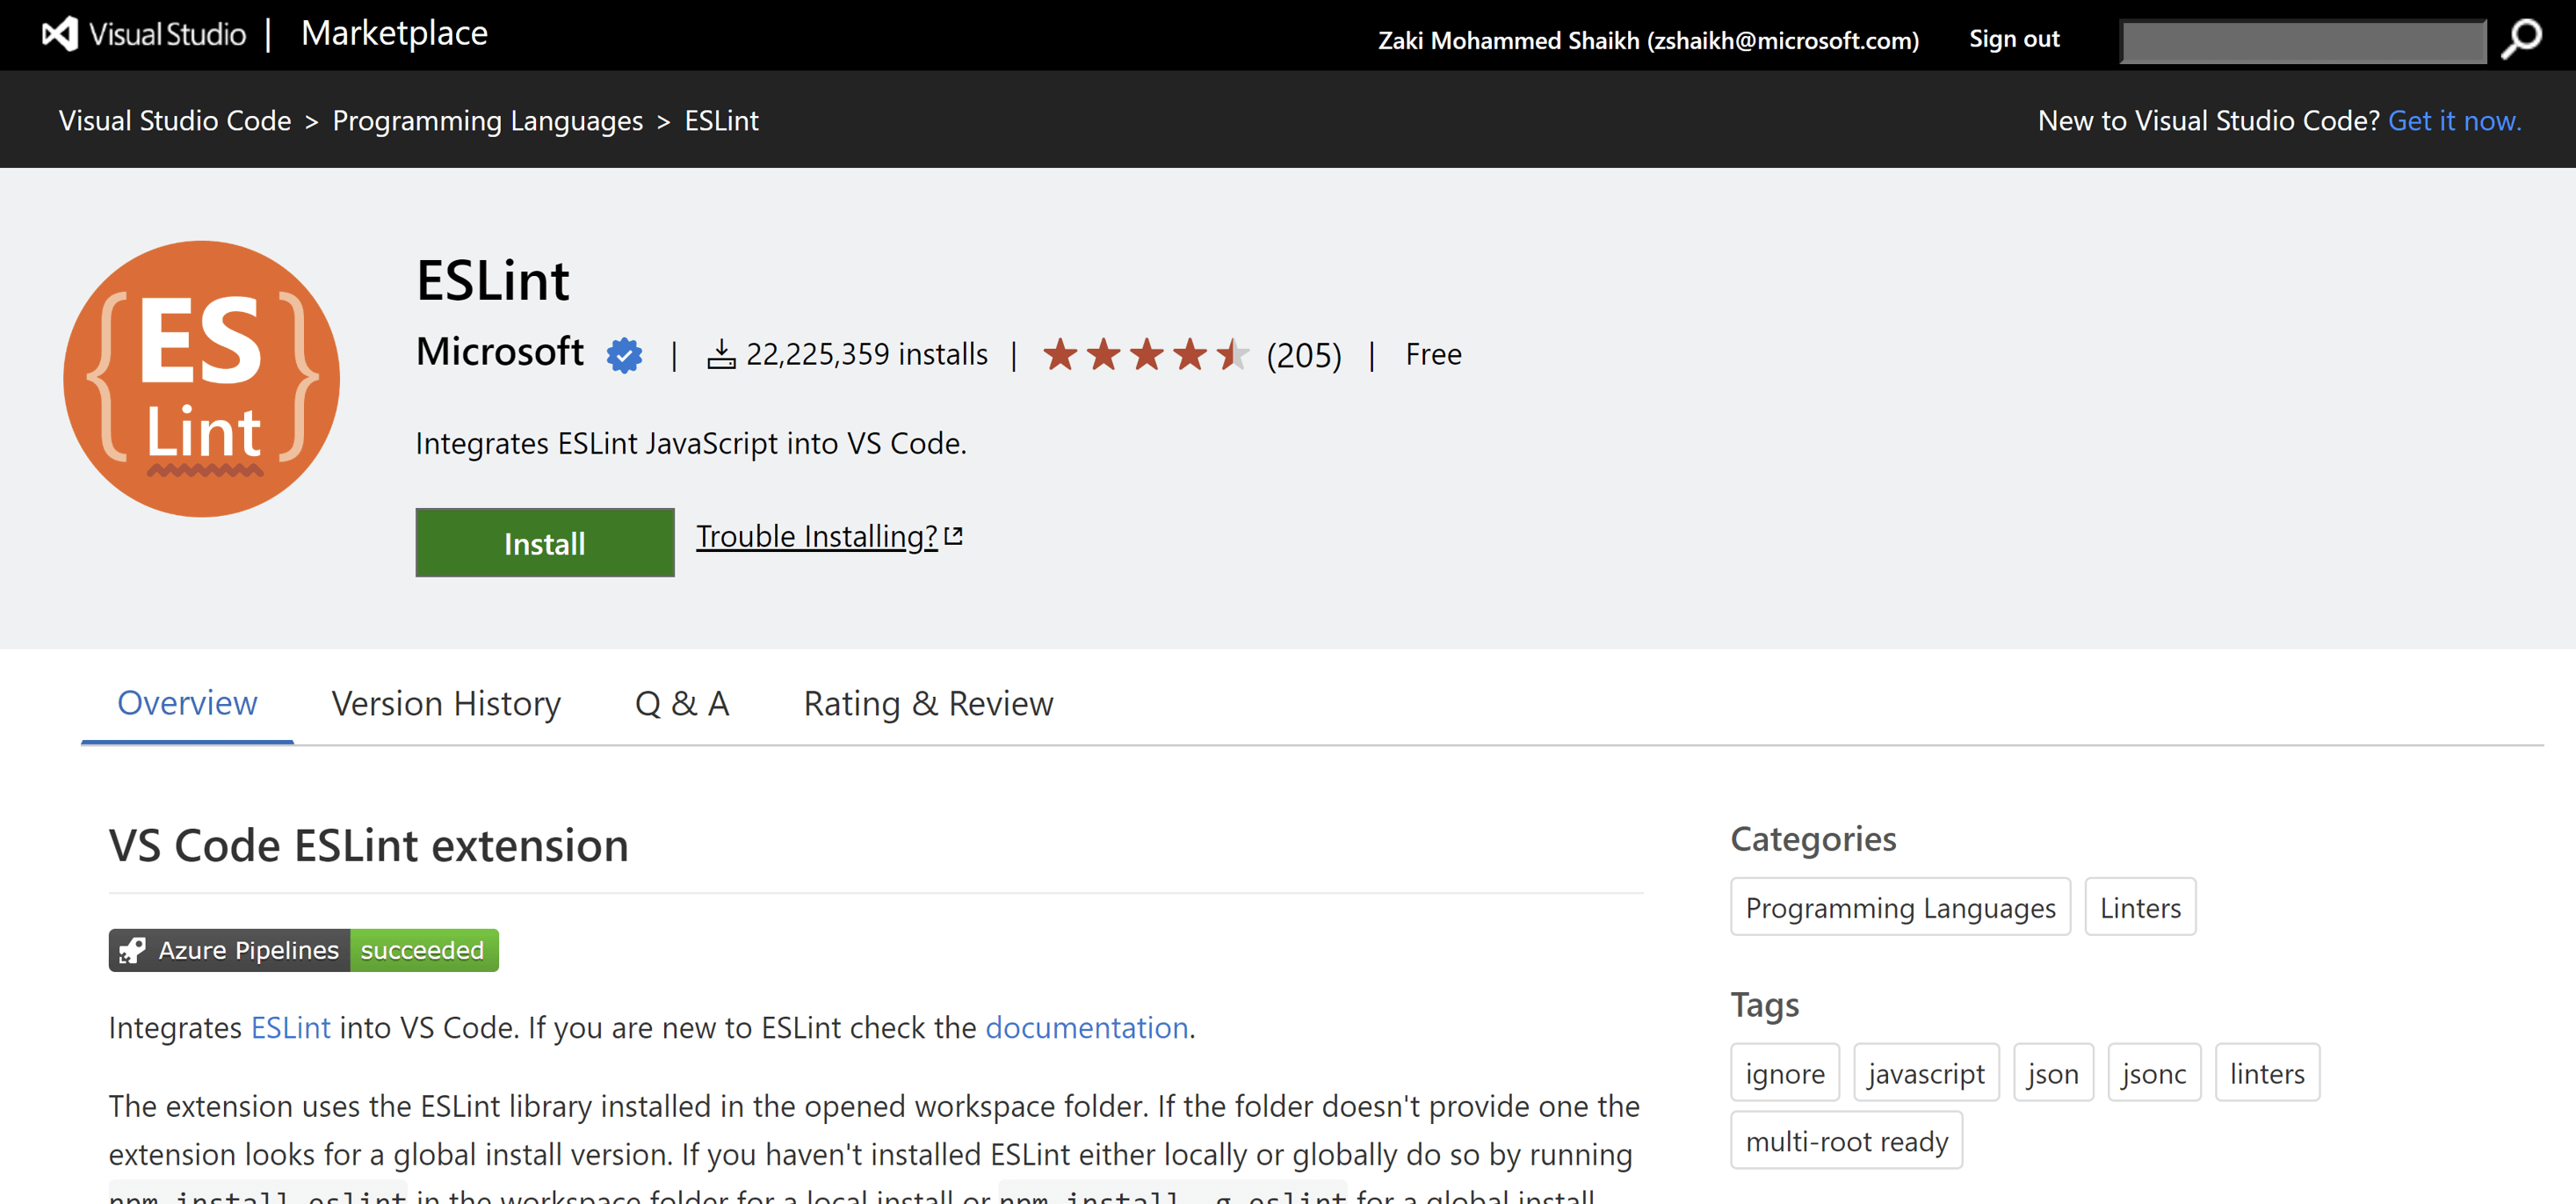
VS Code extensions never fails to amaze. There is VS Code extension for ESLint, that works seamlessly to detect and highlight lint errors at the time when you are developing. As soon as you write some code against the rules of the linter it will start showing red lines everywhere that will haunt you until you fix the issues. Jokes apart this extension is quite friendly and useful to make yourself productive, instead of getting your PRs rejected, the ESLint extension will help you to fix the problem before the arrives.
You simply need to install this extension and the rest will be taken care by the extension, it will read the configuration present in your project and provides error or warning accordingly.
Closing Words
Setting up a linter should be the part of initial activities which we carry out at the beginning of the project. So, that it will give a control over the code base, and you can avoid some of the very common problems introduced by the dev team while developing the app. We can run the lint command on the CI pipelines, whenever a PR is raised towards main branch.
We will also talk about formatters in the upcoming articles, stay tuned.


December 31, 2020

October 19, 2020

March 02, 2022
CodeOmelet is perfect for code hunger; its a coding blog containing articles and solutions related to web, mobile, cloud, console, desktop applications for the developers.

October 11, 2025

October 11, 2025
 .NET C#
 Azure
Azure
 JavaScript
 JEST
JEST
 NodeJS
 React
React