

Validating JWT is nothing new in the context of API development. Thousands of tokens been validated right now while you are reading this text. Azure APIM makes your life easy for API development by allowing you to create a validate-jwt policy to perform such a necessary task. In this article, we will understand how to create such policy under Azure APIM.
Azure APIM offers tons of features related to API Management one of which is its policies (inbound, outbound). These policies are handy to use and easy to configure and can be applied to individual endpoint, individual API, all APIs depending on your requirements. One of such inbound policy is "validate-jwt" (read more from Validate Jwt).
The validate-jwt policy provide you a way to validate the received JWT token at APIM level itself, before even reaching to your backend, this will help you to eliminate the redundant code logic you required on different APIs. You can manage the validation logic at one place. It provides many options to configure the validation criteria such as audience, issuer, openid config, etc.
In this article, we will go through the code snippets and supporting steps to understand how to create and apply validate-jwt policy. We will head in this direction:
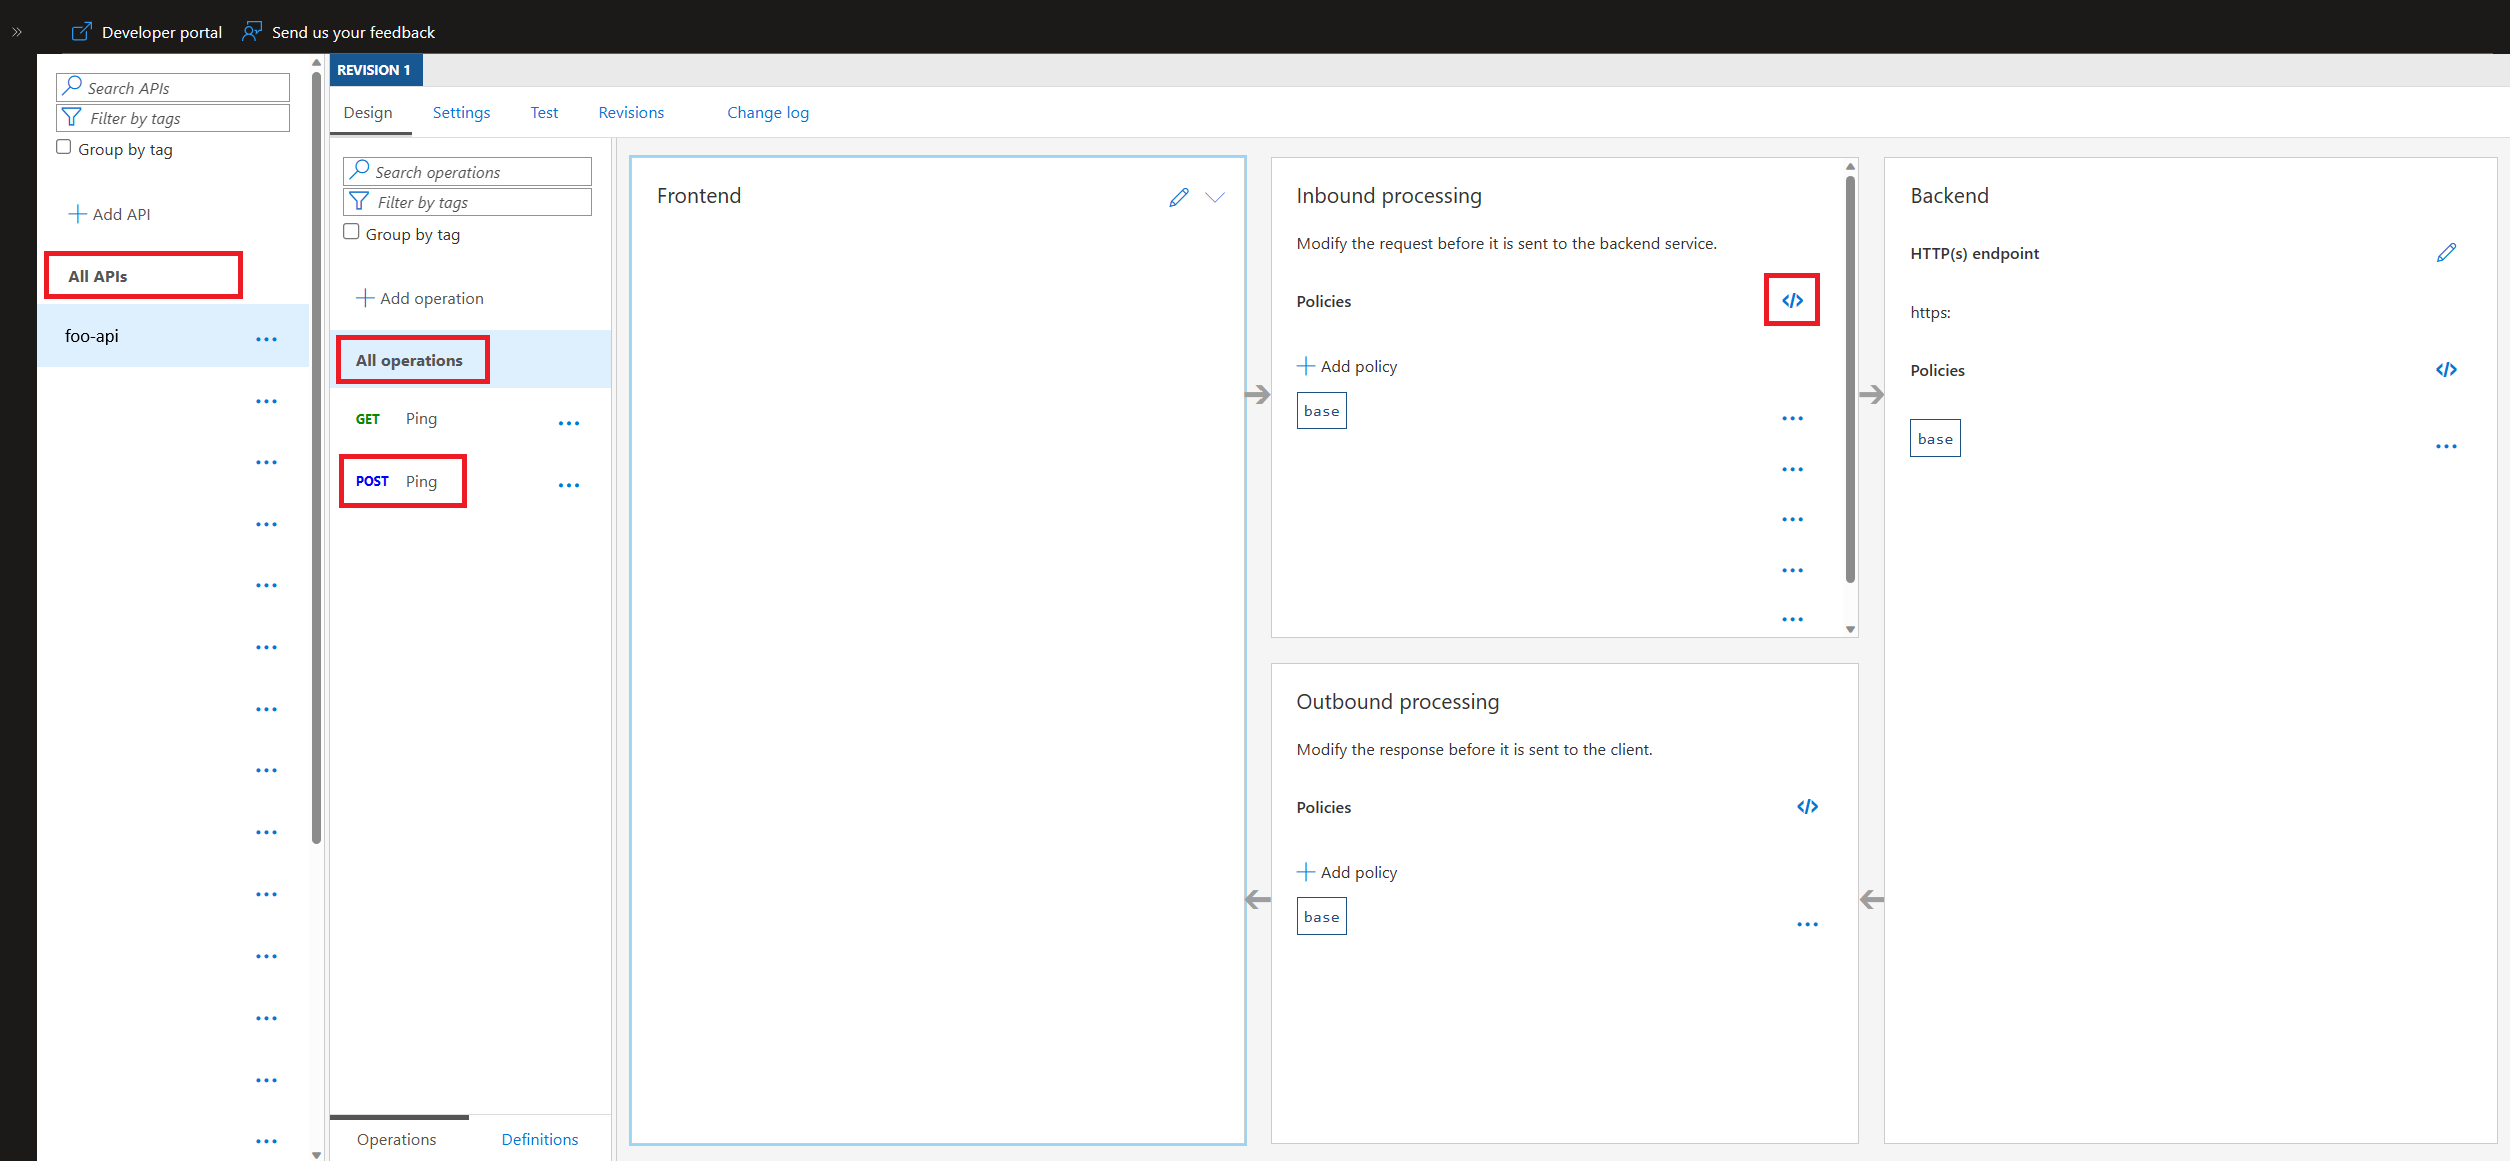
Follow below steps to add policy to your API endpoint:
Below shows the template of the "validate-jwt" policy:
<validate-jwt
	header-name="Authorization"
	failed-validation-httpcode="401"
	failed-validation-error-message="Unauthorized"
	require-scheme="Bearer"
	output-token-variable-name="output-token">

	<openid-config url="https://login.microsoftonline.com/#{YOUR_TENANT_ID_1}#/v2.0/.well-known/openid-configuration/" />
	<openid-config url="https://login.microsoftonline.com/#{YOUR_TENANT_ID_2}#/v2.0/.well-known/openid-configuration/" />

	<audiences>
		<audience>#{YOUR_AUDIENCE_1}#</audience>
		<audience>#{YOUR_AUDIENCE_2}#</audience>
	</audiences>

	<issuers>
		<issuer>https://login.microsoftonline.com/#{YOUR_TENANT_ID_1}#/v2.0</issuer>
		<issuer>https://login.microsoftonline.com/#{YOUR_TENANT_ID_2}#/v2.0</issuer>
	</issuers>
</validate-jwt>
Here, we have a template of "validate-jwt" policy with some placeholder values like YOUR_TENANT_ID, YOUR_AUDIENCE. Notice that the format is the one which is compatible with build pipelines present with most of the CI/CD tools (#{TOKEN}#).
Let us break down the policy and understand the what-is-what, for this below shows the validate-jwt policy with some fake real values:
<validate-jwt
	header-name="Authorization"
	failed-validation-httpcode="401"
	failed-validation-error-message="Unauthorized"
	require-scheme="Bearer"
	output-token-variable-name="output-token">

	<openid-config url="https://login.microsoftonline.com/contoso.onmicrosoft.com/v2.0/.well-known/openid-configuration/" />

	<audiences>
		<audience>f0047ad9-83fb-4a82-8167-d253b0dfb0c3</audience>
		<audience>08c06aea-ea55-48d4-9611-a43c53bf0955</audience>
	</audiences>

	<issuers>
		<issuer>https://login.microsoftonline.com/31537af4-6d77-4bb9-a681-d2394888ea26/v2.0</issuer>
	</issuers>
</validate-jwt>
Properties
Tags
The next question would be "how to consume the output variable" or "how to receive this variable at the backend once verified". You can simply set a custom header in the policy flow just after the validate-jwt policy using "set-header" tag.
<validate-jwt output-token-variable-name="output-token">...</validate-jwt>

<set-header name="CO-Jwt-Token" exists-action="override">
	<value>@(JsonConvert.SerializeObject(((Jwt)context.Variables["output-token"])))</value>
</set-header>
Here, we have added the "set-header" tag with name "CO-Jwt-Token" (you can give any name, we have given a prefix CO - CodeOmelet followed by the name of the header). Make sure to set the property name separated with hyphens and not with underscore or spaces. The value contains the entire output object of class Jwt. The value is obtained through the context variable. Make sure to serialize the object. If you are curious about the @() syntax, they are called as Policy Expression, read more from APIM Policy Expression. Also, if you want to know what is there inside the Jwt class you can checkout from this table Context Variables. As per the docs, the Jwt class contains below properties:
public class Jwt
{
	public string Algorithm { get; set; }
	public string Type { get; set; }
	public string Issuer { get; set; }
	public string Subject { get; set; }
	public IEnumerable<string> Audiences { get; set; }
	public DateTime? ExpirationTime { get; set; }
	public DateTime? NotBefore { get; set; }
	public DateTime? IssuedAt { get; set; }
	public object Id { get; set; }
	public IReadOnlyDictionary<string, string[]> Claims { get; set; }
}
Below shows the values obtained under this class:
{
    "Algorithm": "RS256",
    "Type": "JWT",
    "Issuer": "https://login.microsoftonline.com/31537af4-6d77-4bb9-a681-d2394888ea26/v2.0",
    "Subject": "5794bd0d-d246-4990-96ea-b71d9d4f48f7",
    "Audiences": ["f0047ad9-83fb-4a82-8167-d253b0dfb0c3"],
    "ExpirationTime": "2022-11-17T12:10:59Z",
    "NotBefore": "2022-11-17T10:40:53Z",
    "IssuedAt": "2022-11-17T10:40:53Z",
    "Id": null,
    "Claims": {
        "aud": ["f0047ad9-83fb-4a82-8167-d253b0dfb0c3"],
        "iss": ["https://login.microsoftonline.com/31537af4-6d77-4bb9-a681-d2394888ea26/v2.0"],
        "iat": ["1800217653"],
        "nbf": ["1800217653"],
        "exp": ["1800223059"],
        "aio": ["dc710844-0236-43dc-994a-bbb6cc621650"],
        "azp": ["f0047ad9-83fb-4a82-8167-d253b0dfb0c3"],
        "azpacr": ["0"],
        "name": [""],
        "username": ["John Doe"],
        "email": ["johndoe@gmail.com"],
        "rh": ["b72e16db-f31b-433b-aff8-7b10f3d50926"],
        "scp": ["user"],
        "sub": ["462f597e-c545-4f42-98e2-6ff35cfea095"],
        "tid": ["63593dd6-ac93-4978-8dae-aae06850ddad"],
        "uti": ["aae06850ddad"],
        "ver": ["2.0"]
    }
}<validate-jwt output-token-variable-name="output-token">...</validate-jwt>
<choose>
<when condition='@((Jwt)context.Variables["output-token"] != null)'>
<set-header name="CO-Jwt-Token" exists-action="override">
<value>@(JsonConvert.SerializeObject(((Jwt)context.Variables["output-token"])))</value>
</set-header>
</when>
</choose>Here, we are optionally attaching the header only if the variable obtains the validate-jwt output using the "choose-when" tags.
<validate-jwt output-token-variable-name="output-token">...</validate-jwt>

<choose>
	<when condition='@(!string.IsNullOrEmpty((string)((Jwt)context.Variables["output-token"]).Claims.GetValueOrDefault("username")))'>
		<set-header name="CO-Username" exists-action="override">
			<value>@((string)((Jwt)context.Variables["output-token"]).Claims.GetValueOrDefault("username"))</value>
		</set-header>
	</when>
</choose>
<choose>
	<when condition='@(!string.IsNullOrEmpty((string)((Jwt)context.Variables["output-token"]).Claims.GetValueOrDefault("email")))'>
		<set-header name="CO-Email" exists-action="override">
			<value>@((string)((Jwt)context.Variables["output-token"]).Claims.GetValueOrDefault("email"))</value>
		</set-header>
	</when>
</choose>
Here, we are getting the claims like "username" and "email" and attaching it as a custom header if they existed using choose-when tags.
If we want to use the same policy across the APIM, we can simply create Policy Fragment. We can have them defined once and used at many places. Below we have created a policy named "ValidateJwtFragment".
<fragment>
	<!-- policy -->
	<validate-jwt
		header-name="Authorization"
		failed-validation-httpcode="401"
		failed-validation-error-message="Unauthorized"
		require-scheme="Bearer"
		output-token-variable-name="output-token">

		<openid-config url="https://login.microsoftonline.com/contoso.onmicrosoft.com/v2.0/.well-known/openid-configuration/" />

		<audiences>
			<audience>f0047ad9-83fb-4a82-8167-d253b0dfb0c3</audience>
			<audience>08c06aea-ea55-48d4-9611-a43c53bf0955</audience>
		</audiences>

		<issuers>
			<issuer>https://login.microsoftonline.com/31537af4-6d77-4bb9-a681-d2394888ea26/v2.0</issuer>
		</issuers>
	</validate-jwt>

	<!-- custom-headers -->
	<choose>
		<when condition='@(!string.IsNullOrEmpty((string)((Jwt)context.Variables["output-token"]).Claims.GetValueOrDefault("username")))'>
			<set-header name="CO-Username" exists-action="override">
				<value>@((string)((Jwt)context.Variables["output-token"]).Claims.GetValueOrDefault("username"))</value>
			</set-header>
		</when>
	</choose>
	<choose>
		<when condition='@(!string.IsNullOrEmpty((string)((Jwt)context.Variables["output-token"]).Claims.GetValueOrDefault("email")))'>
			<set-header name="CO-Email" exists-action="override">
				<value>@((string)((Jwt)context.Variables["output-token"]).Claims.GetValueOrDefault("email"))</value>
			</set-header>
		</when>
	</choose>
</fragment>
We can now simply add this to API endpoint or All Operations or All APIs like shown below:
<policies>
	<inbound>
		<base />
		<include-fragment fragment-id="ValidateJwtFragment" />
	</inbound>
	<backend>
		<base />
	</backend>
	<outbound>
		<base />
	</outbound>
	<on-error>
		<base />
	</on-error>
</policies>
You can find the above codes from the Gist created and attached to this article.
That's all folks.


December 31, 2020

October 19, 2020

March 02, 2022
CodeOmelet is perfect for code hunger; its a coding blog containing articles and solutions related to web, mobile, cloud, console, desktop applications for the developers.

October 11, 2025

October 11, 2025
 .NET C#
 Angular
 JavaScript
 JEST
JEST
 NodeJS
 React
React