

Hats off to amazing ISRO team to their ongoing space missions. There is an amazing ISRO API available to use for the folks who admire ISRO and their contributions. In this article we will talk about the app created using React that consumes the ISRO API endpoints. The React ISRO App is also based on Vite, Typescript, Redux, TailwindCSS, DaisyUI and some other cool techs. The app will help to explore the ISRO API along with the React UI ecosystem.
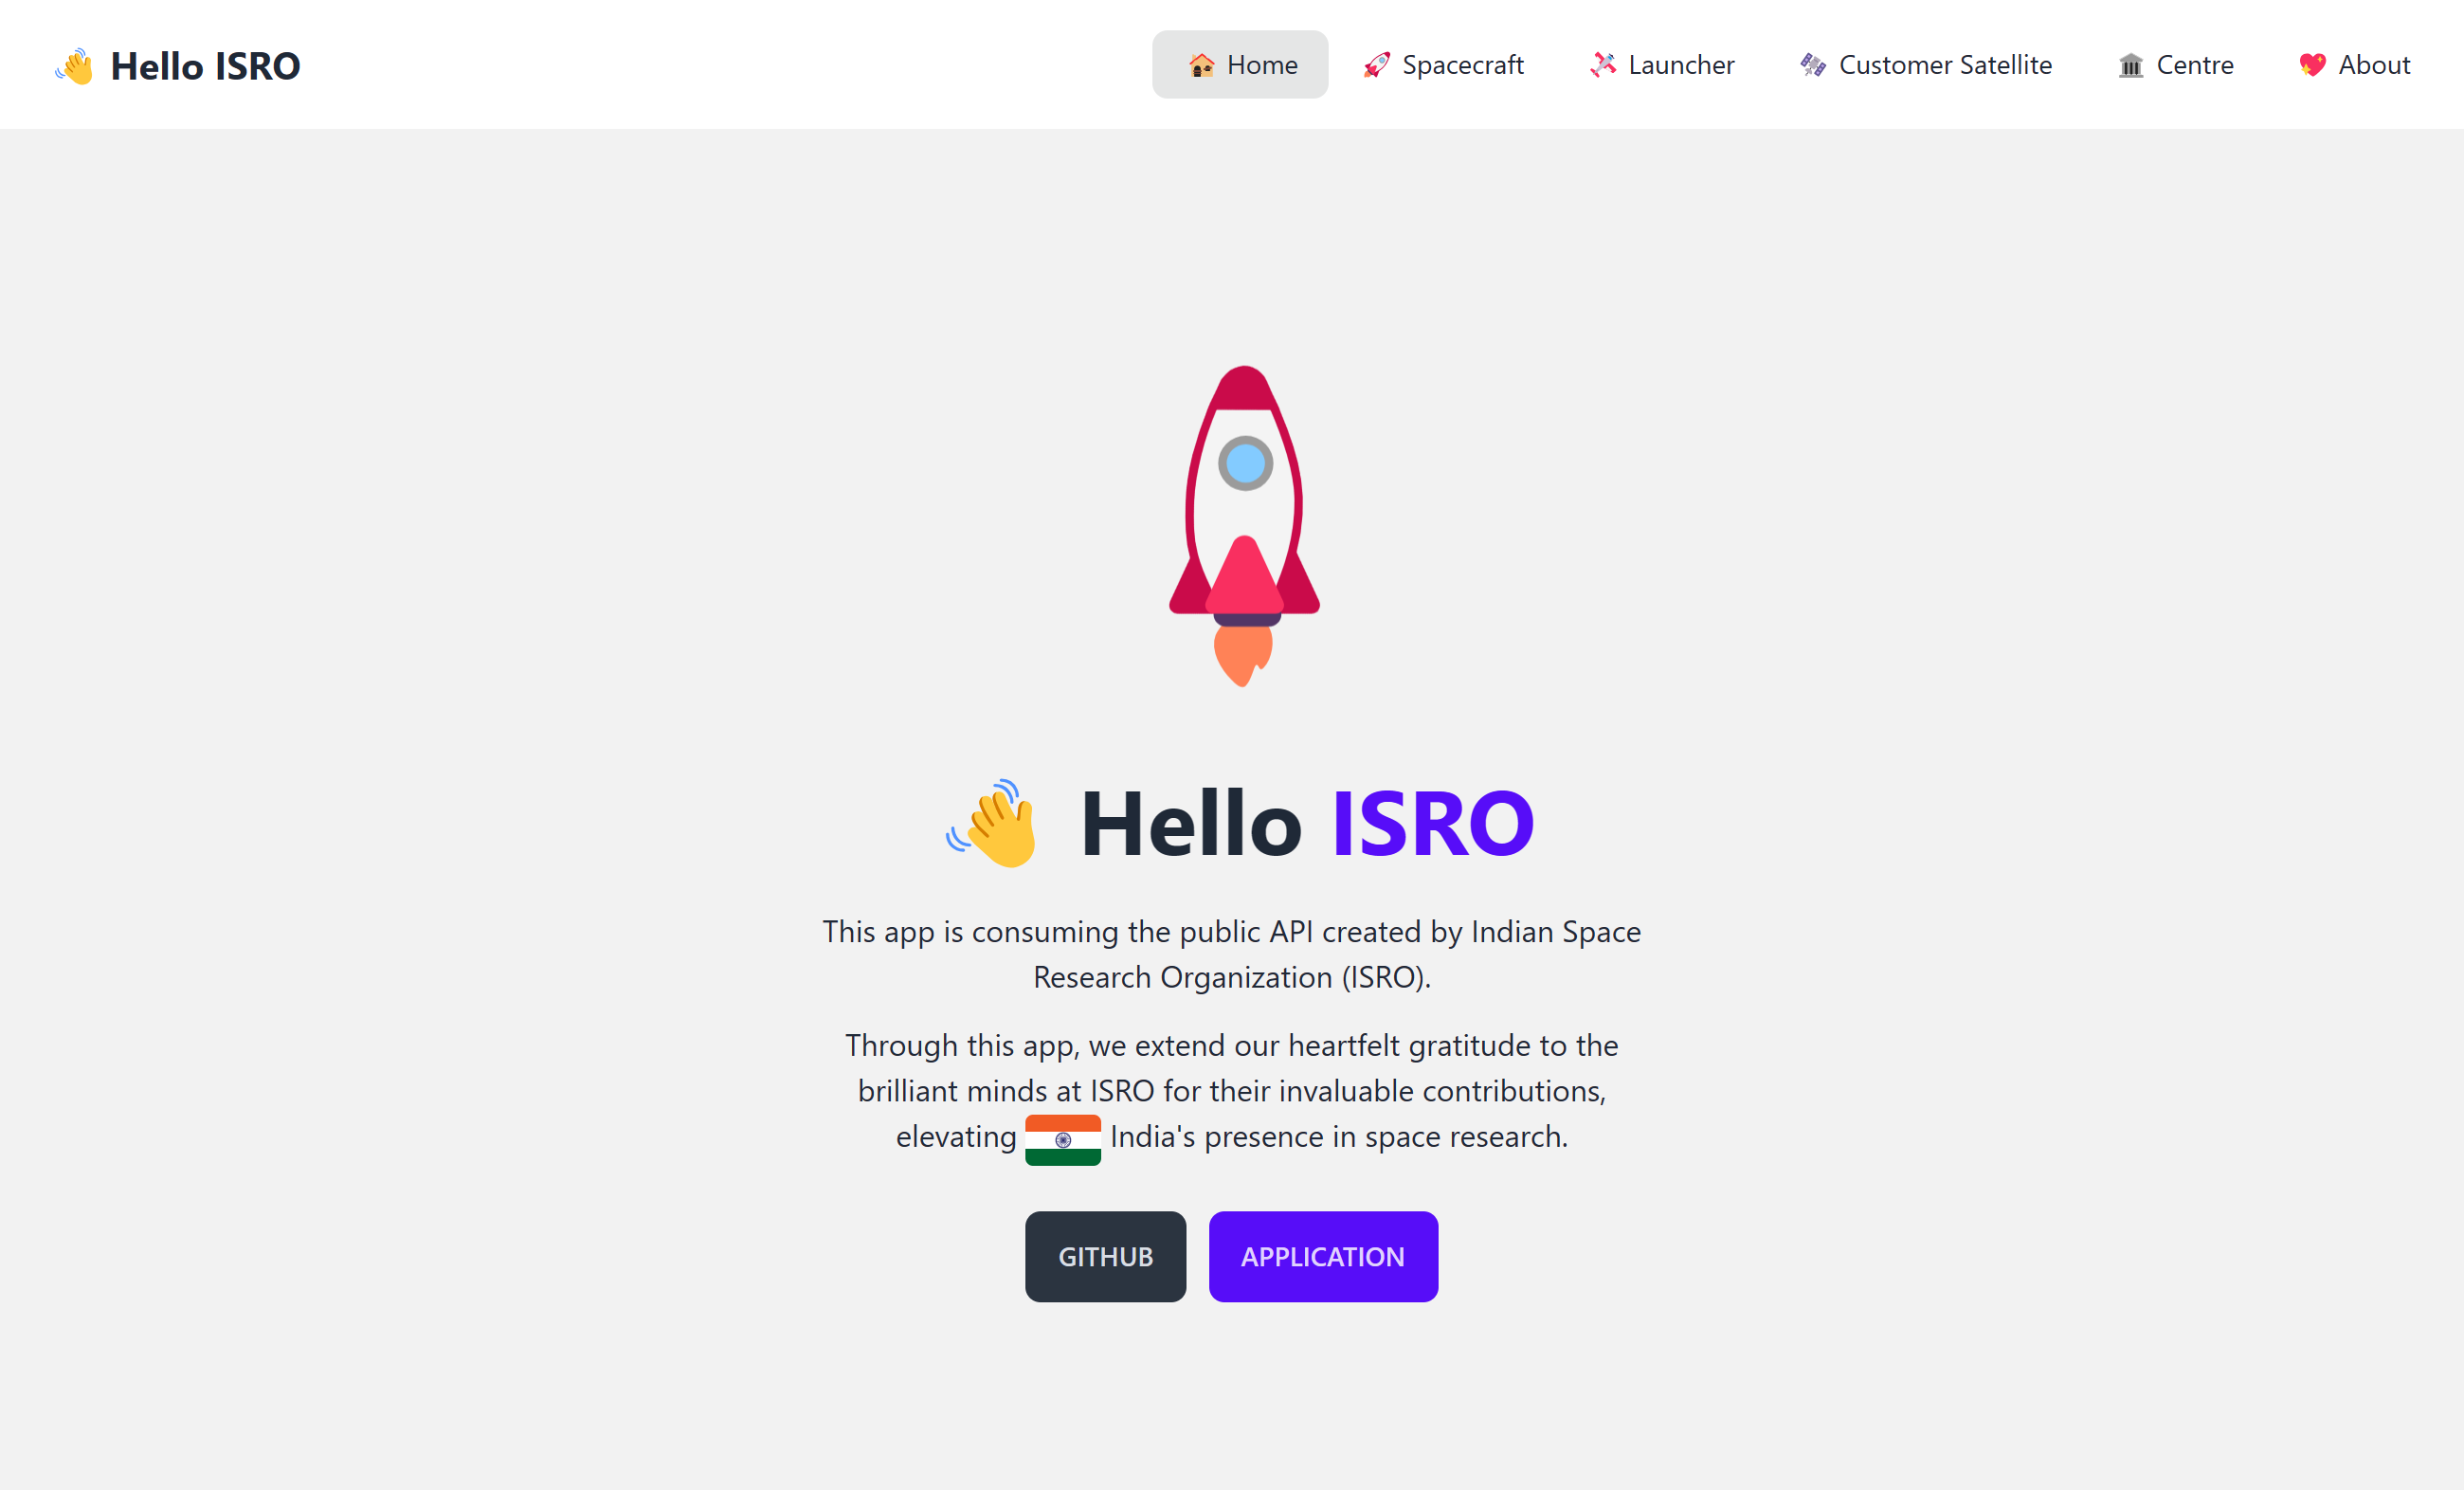
Through this app, we extend our heartfelt gratitude to the brilliant minds at ISRO for their invaluable contributions, elevating India's presence in space research. The ISRO API has 4 endpoints namely Spacecraft, Launcher, Customer Satellite and Centre. These endpoints can be found here ISRO-API along with the GitHub Repository. All of these APIs are GET returning data in the form of array.
Thanks to the devs (@isroadmin, @Pramod-Devireddy and many more) behind the ISRO-API, those have contributed to have such an API for the devs out there. This will surely help to learn and grow new skills and techs.
Respecting the time taken to develop this app, this topic will be divided in to 2 parts. The first part will talk about the initial project setup and dependency installation while the part 2 will talk about the app development and component creation. Let us get started with the application development.
We will head in this direction:
Just to showcase the final project structure before we begin with developing from scratch.
src
|-- assets
|   |-- react.svg
|-- components
|   |-- Container.tsx
|   |-- Footer.tsx
|   |-- Header.tsx
|   |-- Navbar.tsx
|   |-- NoRecords.tsx
|   |-- PageTitle.tsx
|   |-- Search.tsx
|   |-- Spinner.tsx
|-- constants
|   |-- core.constant.ts
|-- models
|   |-- Centre.ts
|   |-- Container.ts
|   |-- Country.ts
|   |-- CustomerSatellite.ts
|   |-- Dto.ts
|   |-- Launcher.ts
|   |-- Search.ts
|   |-- Spacecraft.ts
|   |-- States.ts
|-- pages
|   |-- About.tsx
|   |-- Centre.tsx
|   |-- CustomerSatellite.tsx
|   |-- Home.tsx
|   |-- Launcher.tsx
|   |-- Spacecraft.tsx
|-- reducers
|   |-- AppReducers.ts
|   |-- CentreReducers.ts
|   |-- CustomerSatelliteReducers.ts
|   |-- LauncherReducers.ts
|   |-- SpacecraftReducers.ts
|-- services
|   |-- app.service.ts
|   |-- core.service.ts
|-- App.tsx
|-- hooks.ts
|-- index.css
|-- main.tsx
|-- store.ts
|-- vite-env.d.tsNow, let us get started with creating project.
Make sure you have Node.js installed and Vite available globally. Checkout about Vite, also checkout this tutorial about Vite For TypeScript.
npm create vite@latest

> Give your project a name: react-isro-app
> Select React + TypeScript option

cd react-isro-app
npm i
npm run devThe ISRO app is built using many different packages and dependencies, let us explore few of the important ones.
Working with TailwindCSS for the very first time seems little bit scary, but don't worry I have also overcome my fears by facing them and any one can simply do the same. Nothing fancy here, pretty usual steps to add TailwindCSS to your React + Vite app, you can check the steps out in more detail from here.
Install TailwindCSS:
npm install -D tailwindcss postcss autoprefixer
npx tailwindcss init -p
Open "tailwind.config.js" and update with below code:
/** @type {import('tailwindcss').Config} */
export default {
  content: [
    "./index.html",
    "./src/**/*.{js,ts,jsx,tsx}",
  ],
  theme: {
    extend: {},
  },
  plugins: [],
}
Then add these dependencies to your "index.css" file:
@tailwind base;
@tailwind components;
@tailwind utilities;I loved the DaisyUI components, they are beautiful and mesmerizing. Checkout them from here.
Install daisyUI:
npm i -D daisyui@latestThen add daisyUI to your "tailwind.config.js" files:
module.exports = {
  //...
  plugins: [require("daisyui")],
  daisyui: {
    themes: ["light", "dark", "cupcake"],
  },
}There is a sperate plugin for Typography in TailwindCSS that you have to install separately. Checkout TailwindCSS Typography from here.
Install "@tailwindcss/typography":
npm install -D @tailwindcss/typographyThen add daisyUI to your "tailwind.config.js" files:
module.exports = {
  //...
  plugins: [require('@tailwindcss/typography'), require("daisyui")],
  //...
}When some says Redux then think about rituals and ceremonies you have to perform. Checkout Redux Toolkit from here.
Install Redux Toolkit:
npm i @reduxjs/toolkit
npm i react-redux

npm i @types/react-redux -D
Make sure you install the "@types/react-redux" as dev dependencies to get the TypeScript support.
Models, entities, data structures set the basis for any apps. If these are created in a correct fashion, then your app guarantees to grow and scale easily. Let us focus on creating the necessary models.
Create ISRO-API models:
export interface Spacecraft {
  id: number;
  name: string;
}

export interface Launcher {
  id: string;
}

export interface CustomerSatellite {
  id: string;
  country: string;
  launch_date: string;
  mass: string;
  launcher: string;
  flag: string;
}

export interface Centre {
  id: number;
  name: string;
  Place: string;
  State: string;
}
// models/dto.ts

import { Centre } from './Centre';
import { CustomerSatellite } from './CustomerSatellite';
import { Launcher } from './Launcher';
import { Spacecraft } from './Spacecraft';

export interface LauncherDto {
  launchers: Launcher[];
}

export interface CentreDto {
  centres: Centre[];
}

export interface CustomerSatelliteDto {
  customer_satellites: CustomerSatellite[];
}

export interface SpacecraftDto {
  spacecrafts: Spacecraft[];
}
// models/states.ts

import { Centre } from './Centre';
import { Country } from './Country';
import { CustomerSatellite } from './CustomerSatellite';
import { Launcher } from './Launcher';
import { Spacecraft } from './Spacecraft';

export interface AppState {
  loading: boolean;
}

export interface SpacecraftState {
  spacecrafts: Spacecraft[] | null;
  filtered: Spacecraft[] | null;
  searchValue: string | null;
}

export interface LauncherState {
  launchers: Launcher[] | null;
  filtered: Launcher[] | null;
  searchValue: string | null;
}

export interface CustomerSatelliteState {
  customerSatellites: CustomerSatellite[] | null;
  filtered: CustomerSatellite[] | null;
  searchValue: string | null;
  countries: Country[] | null;
}

export interface CentreState {
  centres: Centre[] | null;
  filtered: Centre[] | null;
  searchValue: string | null;
}
Here, you can see a pattern in the properties. The first property will hold the data obtained from ISRO-API, the "filtered" property will hold the filtered data based on the search input. Last property is the search value that holds the value of the search text box. Let us do the RTK setup for overall project.
For setting up RTK one has to follow these steps:
Create a file named "store.ts" and First configure the store:
// store.ts

import { configureStore } from '@reduxjs/toolkit';

export const store = configureStore({
  reducer: {
  },
});

export type RootState = ReturnType<typeof store.getState>;
export type AppDispatch = typeof store.dispatch;
Here, reducer is empty for now.
Register the store in "main.tsx" file by wrapping the <App> component within store provider:
// main.tsx

import React from 'react'
import { Provider } from 'react-redux';
import ReactDOM from 'react-dom/client'
import App from './App.tsx'
import './index.css'
import { store } from './store.ts'

ReactDOM.createRoot(document.getElementById('root')!).render(
  <React.StrictMode>
    <Provider store={store}>
      <App />
    </Provider>
  </React.StrictMode>,
)
The "Provider" comes from "react-redux".
Let us do the hard work now, initializing states, reducers and selectors. For this create a folder named "reducers". We will see this setup for one state called "spacecraft".
// reducers/SpacecraftReducers.ts

const initialState: SpacecraftState = {
  spacecrafts: null,
  filtered: null,
  searchValue: null,
};
These are the initial values of the spacecraft state.
// reducers/SpacecraftReducers.ts

export const spacecraftSlice = createSlice({
  name: 'spacecraft',
  initialState,
  reducers: {
    getAll: (state, action: PayloadAction<Spacecraft[]>) => {
      state.spacecrafts = action.payload;
      state.filtered = action.payload;
      state.searchValue = null;
    },
    clearSearch: state => {
      state.filtered = state.spacecrafts;
      state.searchValue = null;
    },
    search: (state, action: PayloadAction<string>) => {
      state.searchValue = action.payload;
      state.filtered = state.spacecrafts
        ? state.spacecrafts?.filter(i => i.name.toLowerCase().includes(action.payload))
        : null;
    },
  },
});
Here, we are creating the reducer slices, this will include the definitions of name of the state slice, initial state values, and reducers methods. There are 3 reducers namely getAll, clearSearch and search. The getAll is invoked post obtaining the value from the ISRO-API call and responsible to set all the state values. The clearSearch is to reset the filtered list and search value. The search is called when user performs a search operation resulting in updated filtered array.
// reducers/SpacecraftReducers.ts

export const { getAll, clearSearch, search } = spacecraftSlice.actions;
Export the action methods getAll, clearSearch and search.
// reducers/SpacecraftReducers.ts

export const selectSpacecrafts = (state: RootState) => state.spacecraft.spacecrafts;
export const selectSpacecraftsFiltered = (state: RootState) => state.spacecraft.filtered;
export const selectSearchValue = (state: RootState) => state.spacecraft.searchValue;
Create the selectors for all the 3 states.
// reducers/SpacecraftReducers.ts

export default spacecraftSlice.reducer;
Then, export the reducer as the default export for the file.
Finally, you can now register this reducer to your store in the "store.ts" file:
// store.ts

import { configureStore } from '@reduxjs/toolkit';
import spacecraftReducers from './reducers/SpacecraftReducers';

export const store = configureStore({
  reducer: {
    spacecraft: spacecraftReducers,
  },
});

export type RootState = ReturnType<typeof store.getState>;
export type AppDispatch = typeof store.dispatch;
Here, we are creating a property named spacecraft and assigning it to spacecraftReducers.
Similar to this we will create the other reducers in the same fashion. The final store.ts file will look like this:
// store.ts

import { configureStore } from '@reduxjs/toolkit';
import appReducer from './reducers/AppReducers';
import spacecraftReducers from './reducers/SpacecraftReducers';
import launcherReducers from './reducers/LauncherReducers';
import customerSatelliteReducers from './reducers/CustomerSatelliteReducers';
import centreReducers from './reducers/CentreReducers';

export const store = configureStore({
  reducer: {
    app: appReducer,
    spacecraft: spacecraftReducers,
    launcher: launcherReducers,
    customerSatellite: customerSatelliteReducers,
    centre: centreReducers,
  },
});

export type RootState = ReturnType<typeof store.getState>;
export type AppDispatch = typeof store.dispatch;
This does mark completion of the initial setup of our amazing isro-react-app. We will now move on to work on the app components in the next article.


December 31, 2020

October 19, 2020

March 02, 2022
CodeOmelet is perfect for code hunger; its a coding blog containing articles and solutions related to web, mobile, cloud, console, desktop applications for the developers.

October 11, 2025

October 11, 2025
 .NET C#
 Angular
 Azure
Azure
 JavaScript
 JEST
JEST
 NodeJS