

ESLint is the result of prayers performed by senior devs, so that they can enjoy their trips without worrying much about the code chaos other devs will cause. ESLint works with any JavaScript frameworks, for React it's no different. In this article, we will talk about how to configure ESLint with React.
We are living in a Vite era for the frontend development, where every other framework is embracing Vite for frontend tooling. Long live CRA for React app development. But why we are starting this article with Vite's super heroic entry. Since React + Vite is a new trend the ESLint configuration will also orbits around this duo.
ESLint by far is one of the most popular linters for JavaScript and we have seen it in action in Angular ESLint Configuration article.
Will head in this direction:
Without further ado let's directly jump into setting up Angular ESLint.
Let us create a React app using the Vite frontend tool by running the below command:
npm create vite@latest

v Project name: ... react-eslint
v Select a framework: » React
v Select a variant: » JavaScript + SWC

Scaffolding project in C:\react-eslint...

Done. Now run:

  cd react-eslint
  npm install
  npm run dev
Further follow the remaining mentioned commands to get your app running:
cd react-eslint
npm install
npm run dev
This much will give a running app. Till this point everything remains cool. The directory structure will somewhat look like this:
react-eslint
|-- node_modules
|-- public
|-- src
|-- .eslintrc.cjs
|-- .gitignore
|-- index.html
|-- package-lock.json
|-- package.json
|-- README.md
|-- vite.config.js
Why we are discussing regarding creation of React app using Vite is because, it by default comes with ESLint configuration; mainly ".eslintrc.cjs". Let us now analyze the ESLint configurations.
You can observe that the React app by default comes with the ".eslintrc.cjs" file which is the base for configuring all of you ESLint settings for the project.
module.exports = {
  root: true,
  env: { browser: true, es2020: true },
  extends: [
    'eslint:recommended',
    'plugin:react/recommended',
    'plugin:react/jsx-runtime',
    'plugin:react-hooks/recommended',
  ],
  ignorePatterns: ['dist', '.eslintrc.cjs'],
  parserOptions: { ecmaVersion: 'latest', sourceType: 'module' },
  settings: { react: { version: '18.2' } },
  plugins: ['react-refresh'],
  rules: {
    'react/jsx-no-target-blank': 'off',
    'react-refresh/only-export-components': [
      'warn',
      { allowConstantExport: true },
    ],
  },
}
Here, a bunch of properties being set for you to get started with. Generally, these settings are good to live with, it covers the aspect of ESLint in general, although you can tweak the settings as per your ruling or project demands. You can leverage your Chat GPT/Copilot to get into more of these properties or simply like a classic dev you can read documentations provided by ESLint. Few properties to keep eye on are mentioned below:
Vite by default provides a lint command when you create a project in "package.json" file named as "lint". Simply run this command to check if there are any lint errors are present:
npm run lintWhen we run the command for the first time, it is most likely that will get some lint issues. Fix the found issues one by one. You can check the ESLint - Rule References.
Once you run the lint command without any issues it will show nothing:
C:\react-eslint>npm run lint

> react-eslint@0.0.0 lint
> eslint . --ext js,jsx --report-unused-disable-directives --max-warnings 0

C:\react-eslint>
In case if you have a lint error in your code, in our project case we added a "debugger" in About.jsx file to check in action, post that if you run the lint command it will show below messages:
C:\react-eslint>npm run lint

> react-eslint@0.0.0 lint
> eslint . --ext js,jsx --report-unused-disable-directives --max-warnings 0


C:\Zaki\Study\React\projects\react-eslint\src\pages\About.jsx
  5:3  error  Unexpected 'debugger' statement  no-debugger

? 1 problem (1 error, 0 warnings)
Here, the debugger as an statement must not be present in your code base, potential security.
You can further customize the lint command as per your need. The ESLint can generate reports in different formats.
{
  "scripts": {
    "lint": "eslint . --ext js,jsx --report-unused-disable-directives --max-warnings 0",
    "lint:html": "eslint . --ext js,jsx --report-unused-disable-directives --max-warnings 0 --format html > lint.html",
  },
}
Here, the first command "lint" is default command which you get post creating app using Vite. We have also added a command called "lint:html: which will create lint report in html format. You can check the ESLint - Custom Formatters.
We have seen in the configuration file, that we have a property called "ignorePatterns" that can be use to ignore files from ESLint scan. Apart from the configuration file itself, if you want to have something similar to ".gitignore" you can have ".eslintignore" which works in similar manner, anything added to this file will ignored by ESLint:
package.json
package-lock.json
dist
lint.*
Here, we are ignoring the entire dist folder with any files it contains and the "package.json" file in particular; also, we are ignoring any file starting with "lint.*" pattern. If you want to know more about ignoring files from ESLint, you can check the ESLint - Ignore Files.
To disable any rule at individual code level, put this above the line where you are getting lint error/warning.
// eslint-disable-next-line
alert('foo');
Here, we are disabling the ESLint rule for using alert in the code base through the disable next-line comment. There are many ways to disable an ESLint rule, it can be disabled for individual line, a file or for entire project. You can check the ESLint - Disable Rules.
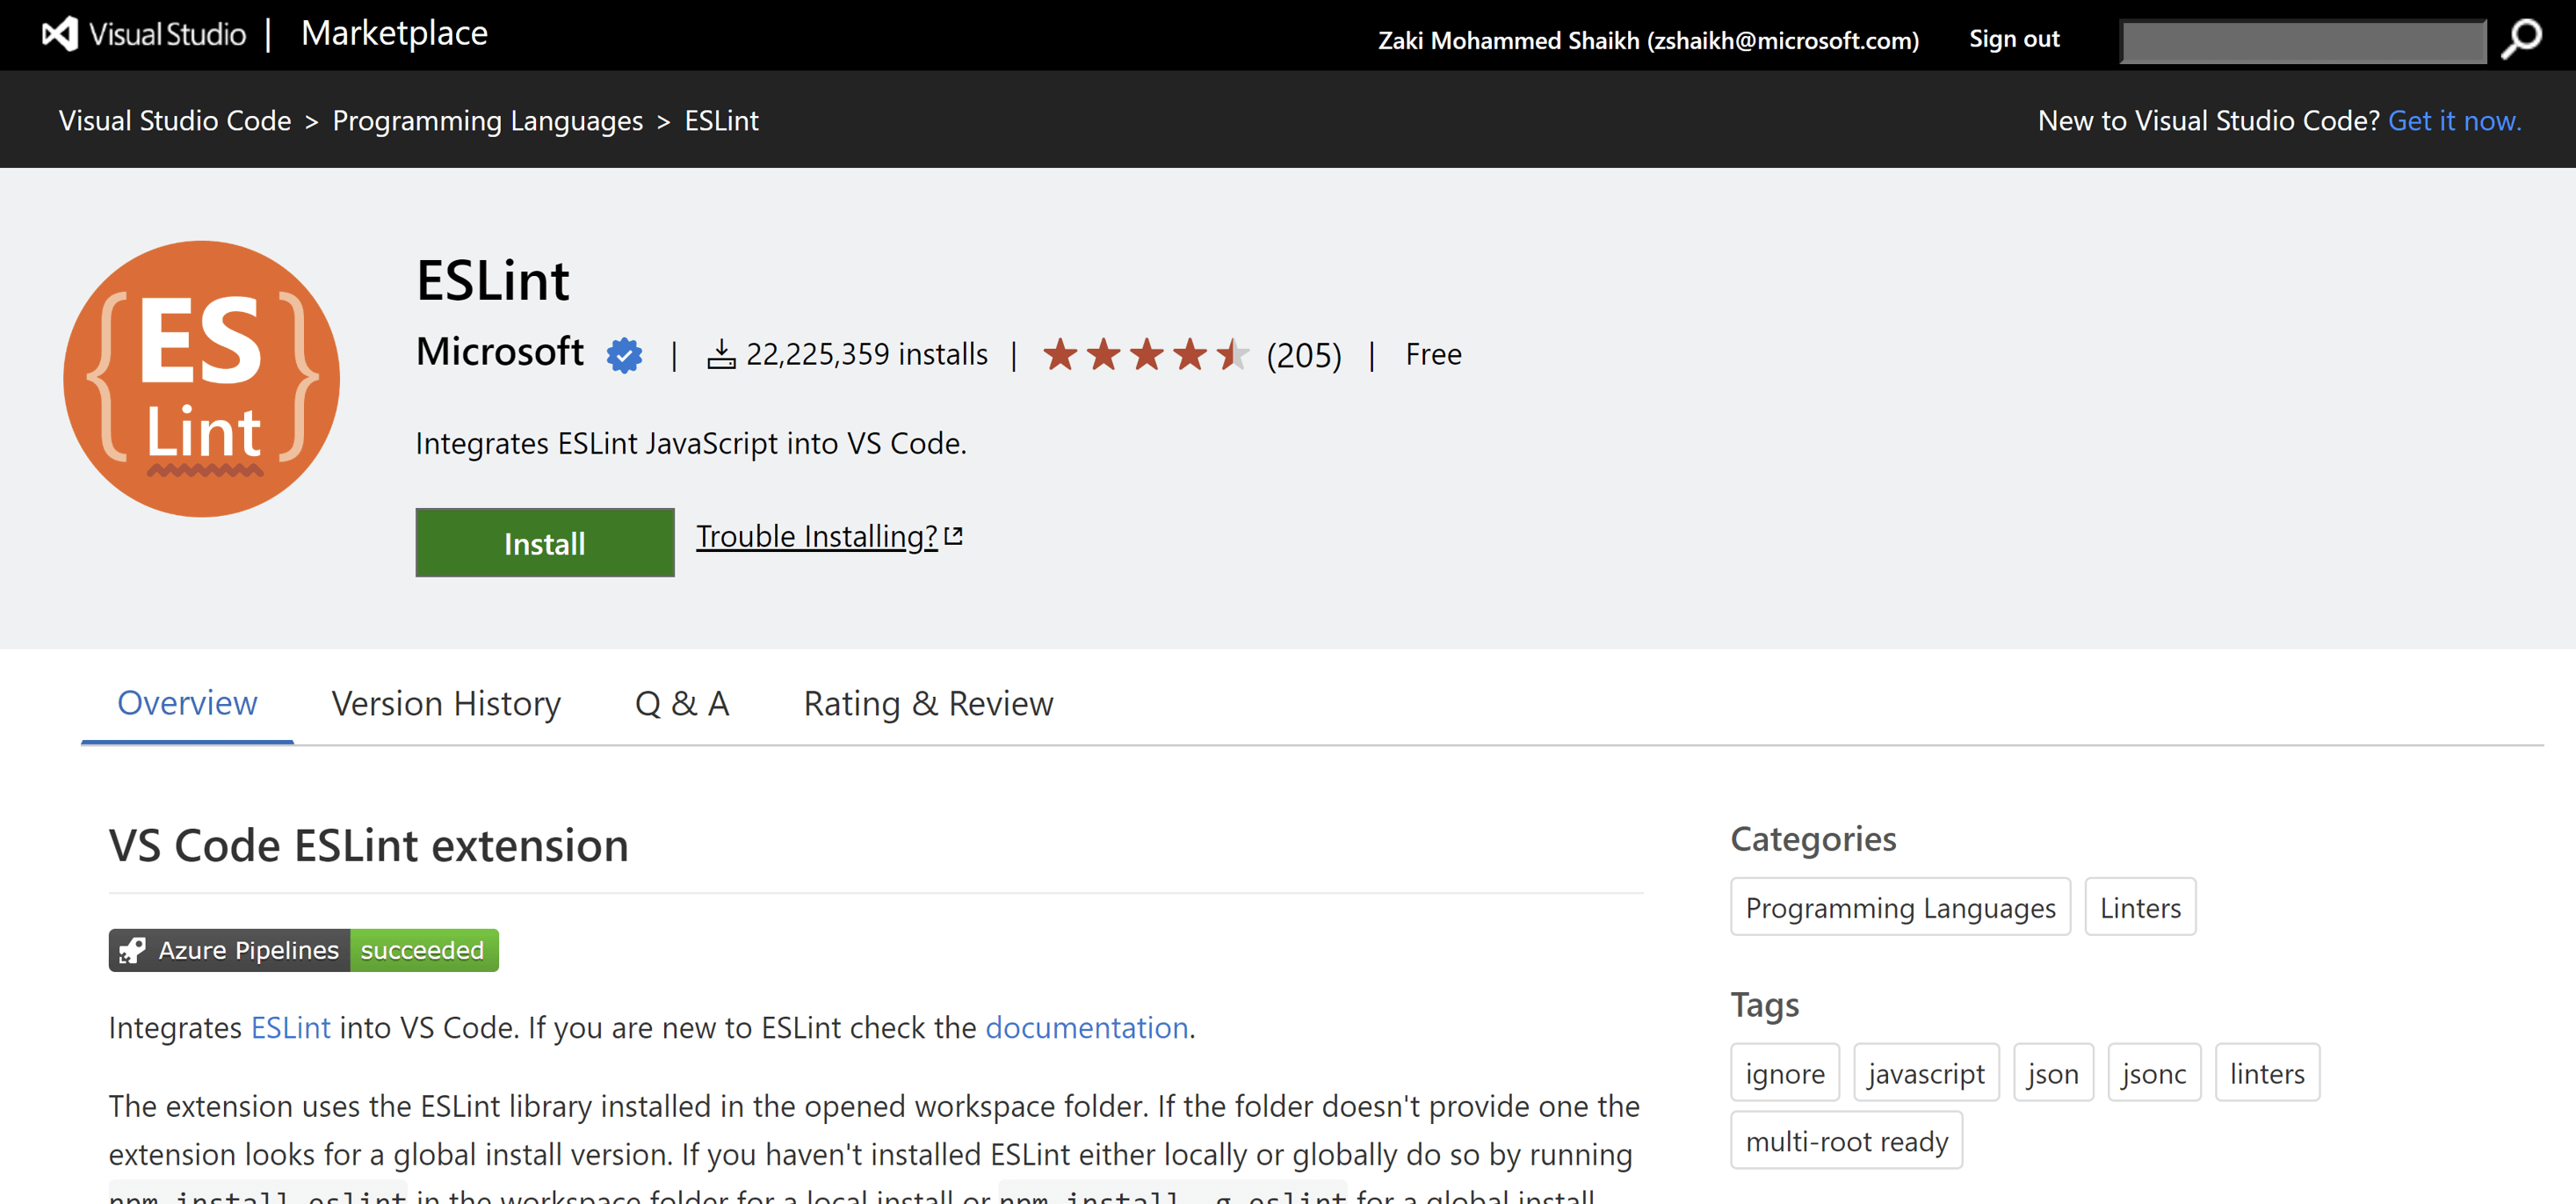
VS Code extensions never fails to amaze. There is VS Code extension for ESLint, that works seamlessly to detect and highlight lint errors at the time when you are developing. As soon as you write some code against the rules of the linter it will start showing red lines everywhere that will haunt you until you fix the issues. Jokes apart this extension is quite friendly and useful to make yourself productive, instead of getting your PRs rejected, the ESLint extension will help you to fix the problem before the arrives.
You simply need to install this extension and the rest will be taken care by the extension, it will read the configuration present in your project and provides error or warning accordingly.
Closing Words
With the power of Vite + React development the linter by default comes with the project from day one. This helps in a way that it will give a control over the code base, and you can avoid some of the very common problems introduced by the dev team while developing the app. We can run the lint command on the CI pipelines, whenever a PR is raised towards main branch.
We will also talk about formatters (Prettier) with ESLint + React + Vite in the upcoming articles, stay tuned.


December 31, 2020

October 19, 2020

March 02, 2022
CodeOmelet is perfect for code hunger; its a coding blog containing articles and solutions related to web, mobile, cloud, console, desktop applications for the developers.

October 11, 2025

October 11, 2025
 .NET C#
 Angular
 Azure
Azure
 JavaScript
 JEST
JEST
 NodeJS